A terracotta oven after the purchase must be put in place
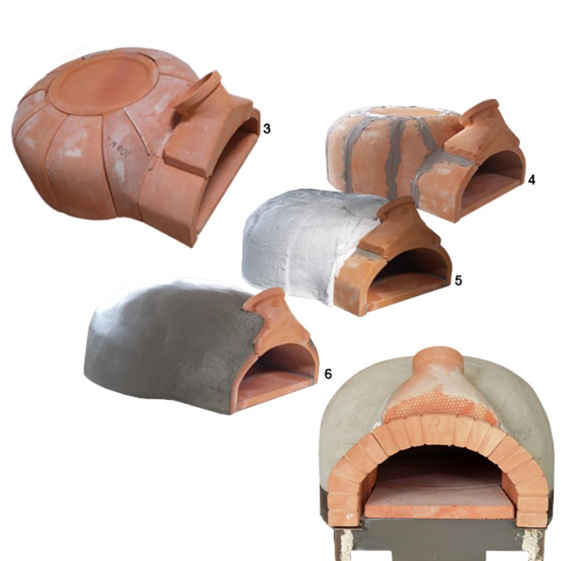
The setting up process of refractory terracotta ovens is quite simple, but must be carried out with care: the procedure to follow is outlined below.
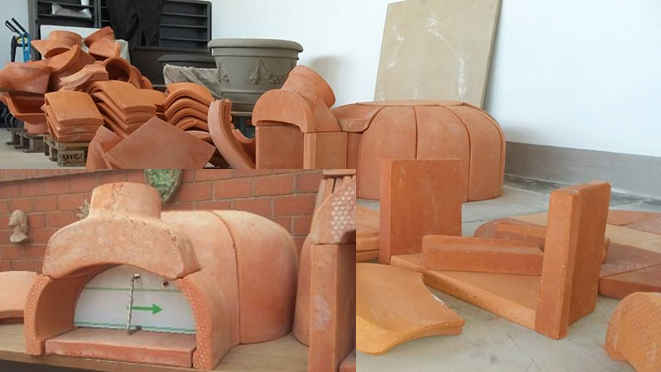
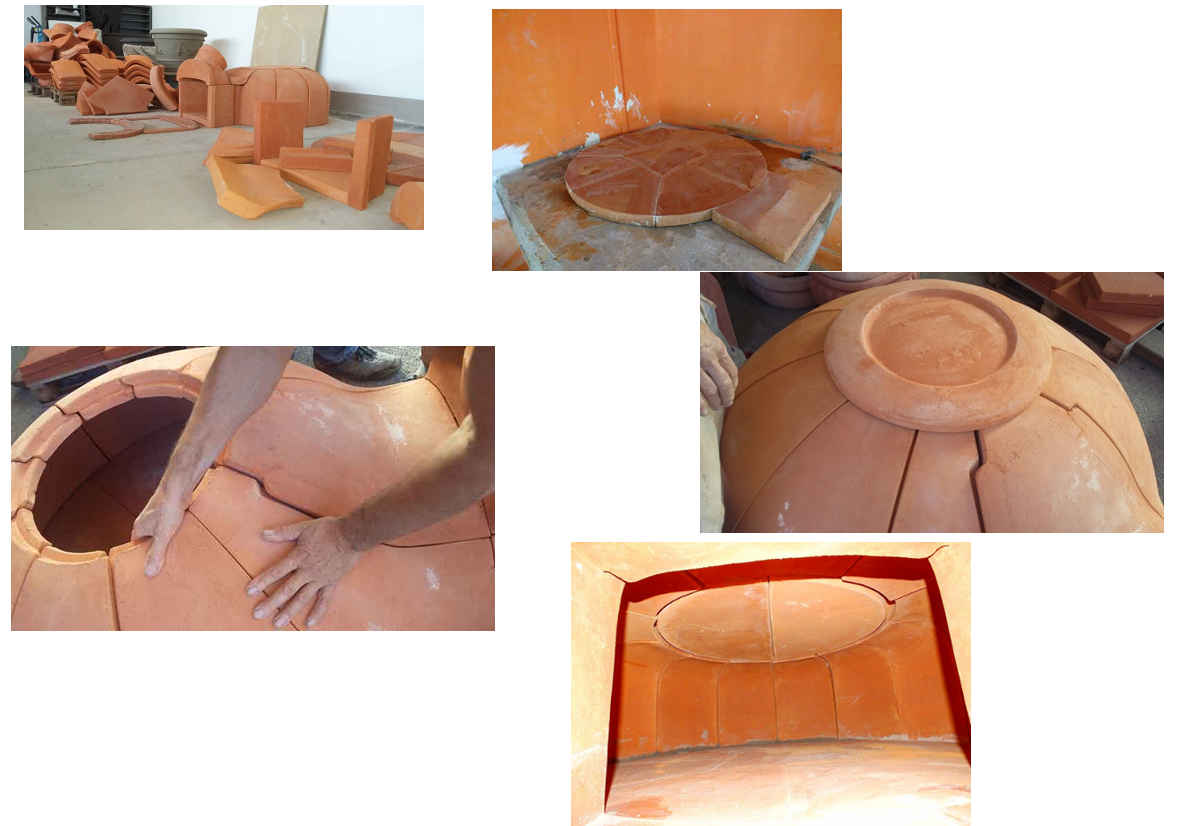
The unique constructive characteristic of our ovens (clay formed by hand on molds, then cooked at about 1000°C) determines dimensional variations of the individual components of the oven; therefore special care must be taken in the coupling of these components, in particular with the oven work surface which must be as much coplanar as possible.
You can buy all the refractory components of the desired oven model and these come to the customer with the instruction manual.
For the implementation it is recommended to read the booklet or instruction manual.
For any problem or clarification, it is advisable to contact the after sale service..
FASE 01
We want to give you some rules to correctly set up the work necessary for the implementation of our ovens.
The fume extractor hood supplied with our ovens is designed to accommodate metal pipes (stainless steel) with a circular section with a 20 cm diameter (or 15 cm, depending on the model) and therefore all the pipes up to the exit from the chimney pot should be made with the above mentioned characteristics.
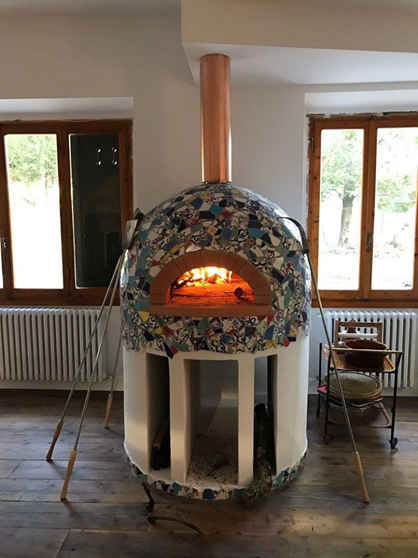
Our oven represents the core of a construction which requires some additional elements to be considered complete, including in particular a shelter from atmospheric agents in the case of outdoor ovens to ensure excellent thermal insulation.
FASE 02
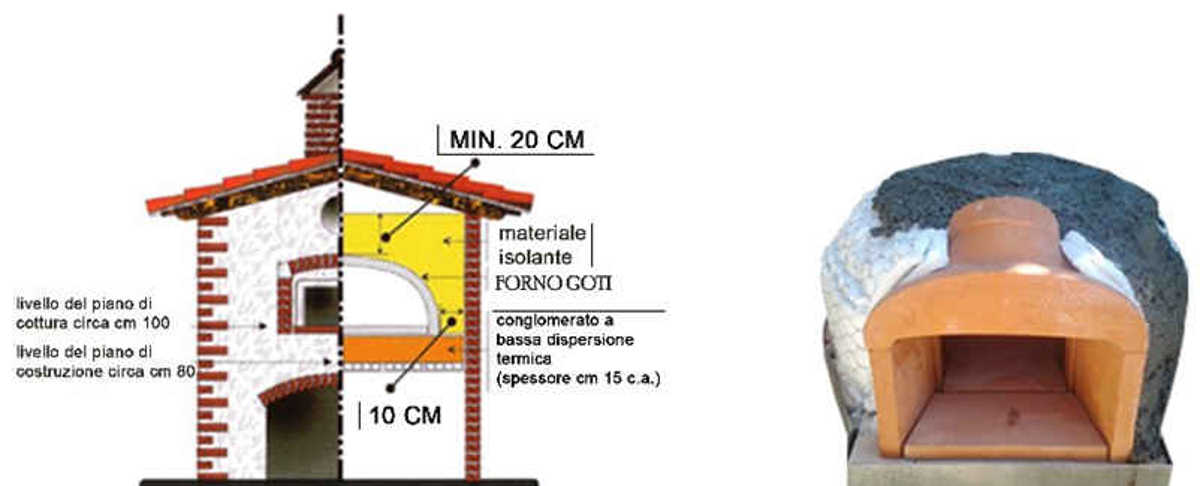
It is necessary to build the table top, preparatory to the oven assembly. The aforementioned “construction plan” must be able to support the weight of the oven, the insulation and its overall finish. This can be achieved in various ways, in masonry or with a metal structure, in both cases it is necessary to evaluate whether, where we intend to place the oven, there are the suitable characteristics to support the construction weight of the entire structure.
1 Make two masonry supports;
2 Create a load-bearing concrete slab;
3 Create a top in lightweight cellular concrete panels (gasbeton) or in lightweight concrete based on expanded clay or vermiculite;
4 Temporarily place the oven floor on the build floor;
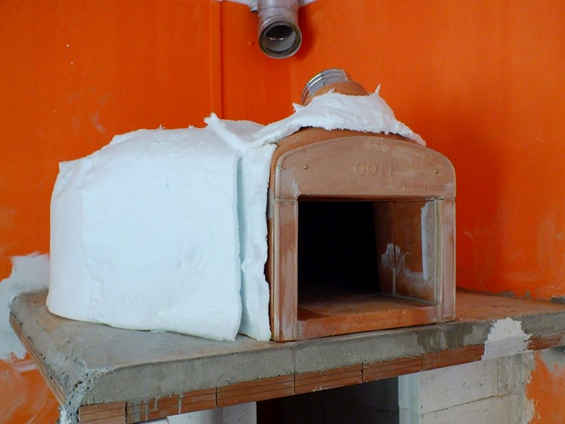
5 Compose the dome without bricking up;
6 Complete the assembly with all the pieces.


